Workout programming is especially designed for those who are trying to improve their general fitness and those people who are food lovers. Therefore they can eat anything they want but just 30 minutes doing some basic workout routine written in this post are the best thing for those people. The specialty of this workout routine is this routine can follow everyone(men's) like any athletes, footballers, cricketers, any kind of sportsperson or those people in the different sectors or police those have time issues they can do this anywhere to follow the simple routine below.
Before we start the workout we have to know some basic information about our abdominal parts or sections. The human abdominal workout is considered in three parts they are:
1. First, we have to train our upper & middle portion
2. Second is the lower abdominal
3. The third is the oblique’s or sides of our belly
Read: How Many carbohydrates should we take to lose weight
Read: Importance of protein and how much protein do you need every day?
1. General Plank
The general plank is an isometric exercise that you can do anywhere. Plank is an easy bodyweight exercise. You have to maintain a hold position on your arms.
The Plank
Plank is the most common exercise for building overall body strength. But most people assumed it as a core exercise. It is a wrong perception among people.
Yes, plank obviously builds your core muscle but it actually tightens your core. It is a simple bodyweight workout, with no equipment needed.
First, make a normal push-up position then bend your forearm and hold this position at least for a minute.
That's it, guys. If you do not understand this please watch the video below
Repetition:
You have to do just 1 minute or above
And preferable sets will be 1 - 5
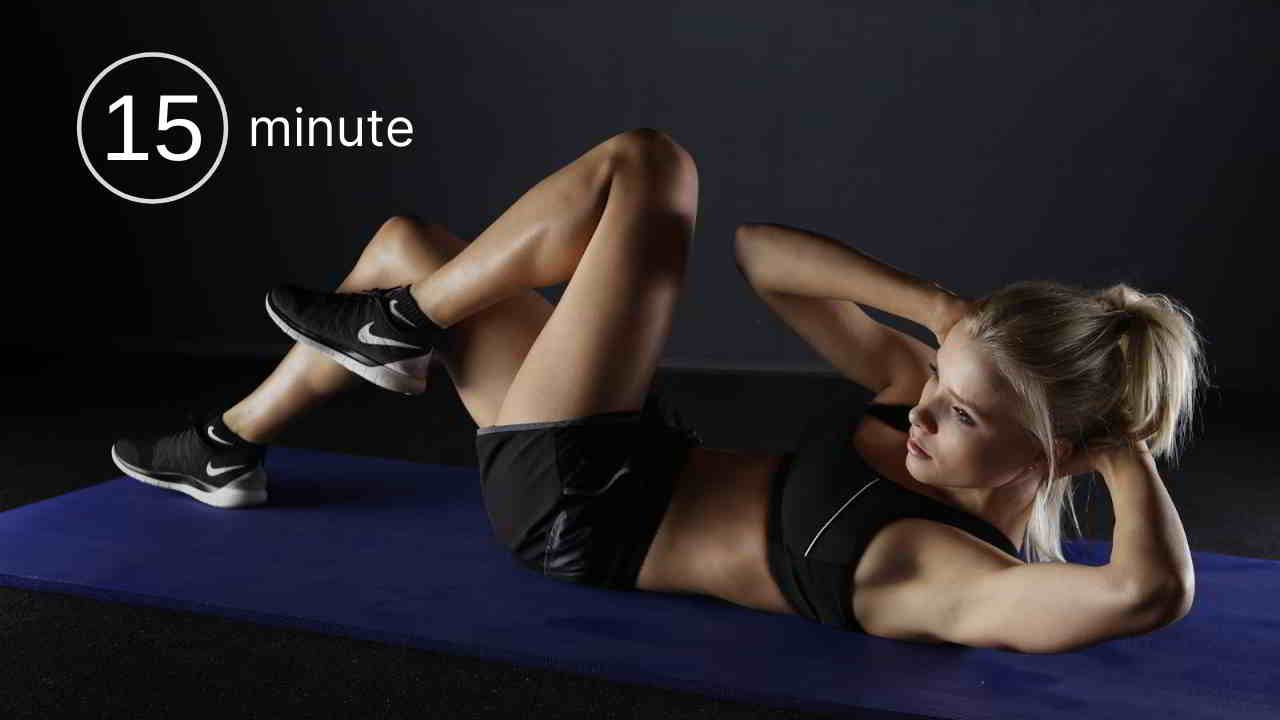
2. Crunches
The crunch is one of the most popular abdominal exercises. It involves the entire abs, but primarily it works the rectus abdominal muscle and also works the obliques.
It allows both building six-pack abs and tightening the belly.
How To
In a crunch, unlike a sit-up, the lower back stays on the floor. This is said to eliminate any involvement by the hip flexors and make the crunch an effective isolation exercise for the abdominal.
Repetition:
You have to do just 3 - 4 sets
And preferable repetition each sets 15 - 20
3. Flutter kicks
Flutter kicks are a four-count exercise. The starting position is lying flat on the back with the feet and head approximately 6 inches (15 cm) off the ground. Hands are under the buttocks to support the lower back.
Count one: raise the left leg to a 45-degree angle, keeping the right leg stationary.
The Flutter kick
It's actually one of my favorite exercises because of less effort and more results. The best exercise for the lower abdomen.
Repetition:
You have done this for 3 - 4 sets
Each sets 45 seconds - 1 minute
4. Sit-ups
The sit-up (or curl-up) is an abdominal endurance training exercise to strengthen, tighten, and tone the abdominal muscles.
It is similar to a crunch (crunches target the rectus abdominal and also works the biceps and external and internal oblique’s), but sit-ups have a fuller range of motion and condition additional muscles.
The Sit-ups
It begins with lying with the back on the floor, typically with the arms across the chest or hands behind the head and the knees bent in an attempt to reduce stress on the back muscles and spine, and then elevating both the upper and lower vertebrae from the floor until everything superior to the buttocks is not touching the ground. Some argue that situps can be dangerous due to high compressive lumbar load and maybe replaced with the crunch in exercise programs.
Strength exercises such as sit-ups and push-ups do not cause the spot reduction of fat. Gaining a "six-pack" requires both abdominal muscle hypertrophy training and fat loss over the abdomen—which can only be done by losing fat from the body as a whole.
Variation
The movement can be made easier by placing the arms further down away from the head. Typical variations to this include crossing the arms to place the palms on the front of the shoulders and extending the arms down to the sides with palms on the floor. The 'arms on shoulders' variation are also used to make the incline sit-up easier.
More intense movement is achieved by doing weighted sit-ups, incline sit-ups with arms behind the neck, and even harder by doing the weighted incline sit-up
Repetition:
You have to do just 3 - 4 sets
And preferable repetition each sets 15 - 20
5. Scissors
Scissors is an abdominal exercise that strengthens the transverse abdominals, helping flatten your belly and strengthen your entire core. Scissors are not only a core strength move, but it is also a great stretch for your hamstrings and your lower back.
When you perform the Scissors, be sure not to move so fast that you rely on momentum or risk hurting your lower back. Move slow and controlled, only lowering your legs as much as you feel stable.
In addition, lift the leg up as long and straight as you can. However, if you have tight hamstrings be sure to bend your knees slightly.
1) Start lying on back with arms next to side and legs pointed straight into the air above hips. Press low back into the mat so the abs are tight.
2) Lower right leg a few inches from the mat. As you raise the right leg up begin lowering the left leg the same way. Continue switching right and left for the desired number of reps.
Targets: hamstrings, core
The Scissors
Repetition:
You have done this for 3 - 4 sets
Each sets 45 seconds - 1 minute
6. Hip Bridge
Step 1
Start Position: Lie supine (on your back) on an exercise mat or the floor in a bent-knee position with your feet flat on the floor.
Place your feet hip-width apart with the toes facing away from you. Gently contract your abdominal muscles to flatten your low back into the floor. Attempt to maintain this gentle muscle contraction throughout the exercise
Step 2
Upward Phase: Gently exhale while holding your abdominal contraction and press your hips upwards off the floor into extension by contracting your glutes (butt muscles). At the same time press your heels into the floor for more stability.
Avoid pushing your hips too high as this generally increases the amount of hyperextension (arching) in your low back. Maintaining your abdominal contraction helps avoid excessive arching in your low back.
Step 3
Lower Phase: Inhale and slowly lower yourself back towards your starting position.
Step 4
Progression: Gradually progress this exercise by starting with both feet together and extending one leg while in the raised position.
Avoid arching your lower back as your press your hips upward which normally occurs if you attempt to push your hips as high as possible. This can be achieved by contracting your abdominal muscles prior to lifting and keeping them engaged throughout the lift
Repetition:
You have to do just 2 sets
And preferable repetition each sets 15 - 20
7. Side plank (both sides)
Step-by-Step Instructions
1. Lie on your right side, legs extended, and stacked from hip to feet. The elbow of your right arm is directly under your shoulder. Ensure your head is directly in line with your spine. Your left arm can be aligned along the left side of your body.
2. Engage your abdominal muscles, drawing your navel toward your spine.
3. Lift your hips and knees from the mat while exhaling. Your torso is straight in line with no sagging or bending. Hold the position.
4. After several breaths, inhale and return to the starting position. The goal should be to hold for 60 seconds. Change sides and repeat.
The side plank dips
If you can do this very good otherwise, you can do this in the below format
The side plank hold
Targets: Arms, back, core
Repetition:
You have to do just 30 - 45 seconds each side
And preferable sets will be 1 - 2
And remember guys you should maintain a proper healthy low crab high protein diet. If you can maintain it then definitely you got the results within one month. And drink lots of water.
The Bottom Line:
15-Minute No-Equipment Home Core Workout to Do at Home, hope you enjoy the post. If you have any doubts please comment below.
And guys if this post is helpful for please share it with your friends or give feedback.